Clearing and Entering a Submission
- Go to Expert Insured and log in >> From the Home page, go to Create >> Select Submission.
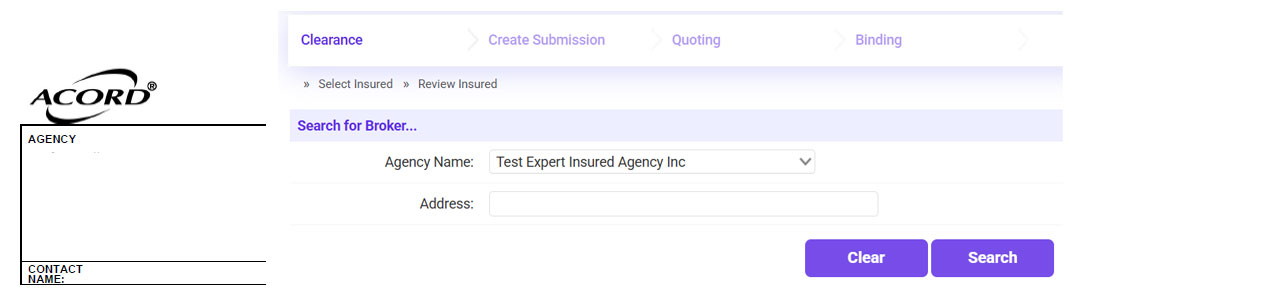
- Enter the Agency Name listed on the submission >> Click Search.
- Select the applicable result (check the location and confirm the
Status is ‘Approved’) >> Click Continue.
- Enter the applicant’s name into the Insured Name field >> Click Search.
Creating a New Insured
- If there are no results, click New
Insured.
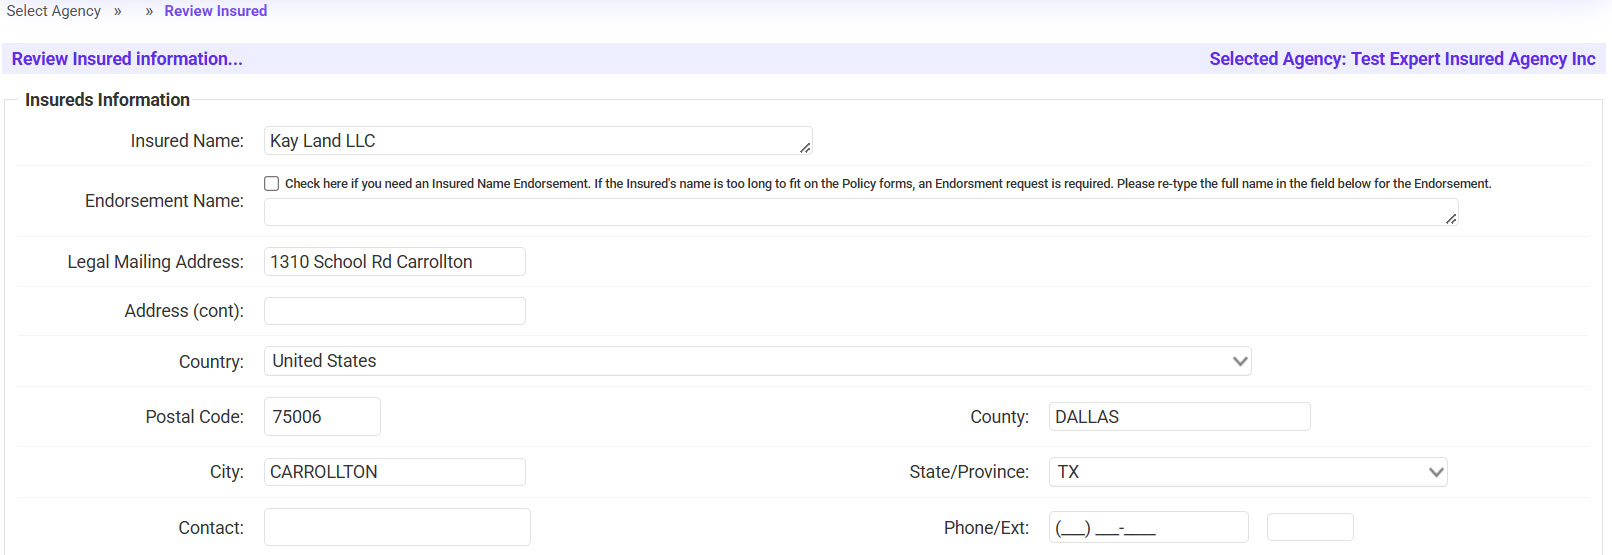
- Enter the applicant’s Mailing Address >> Enter the Zip
Code >> Confirm the City that is generated.
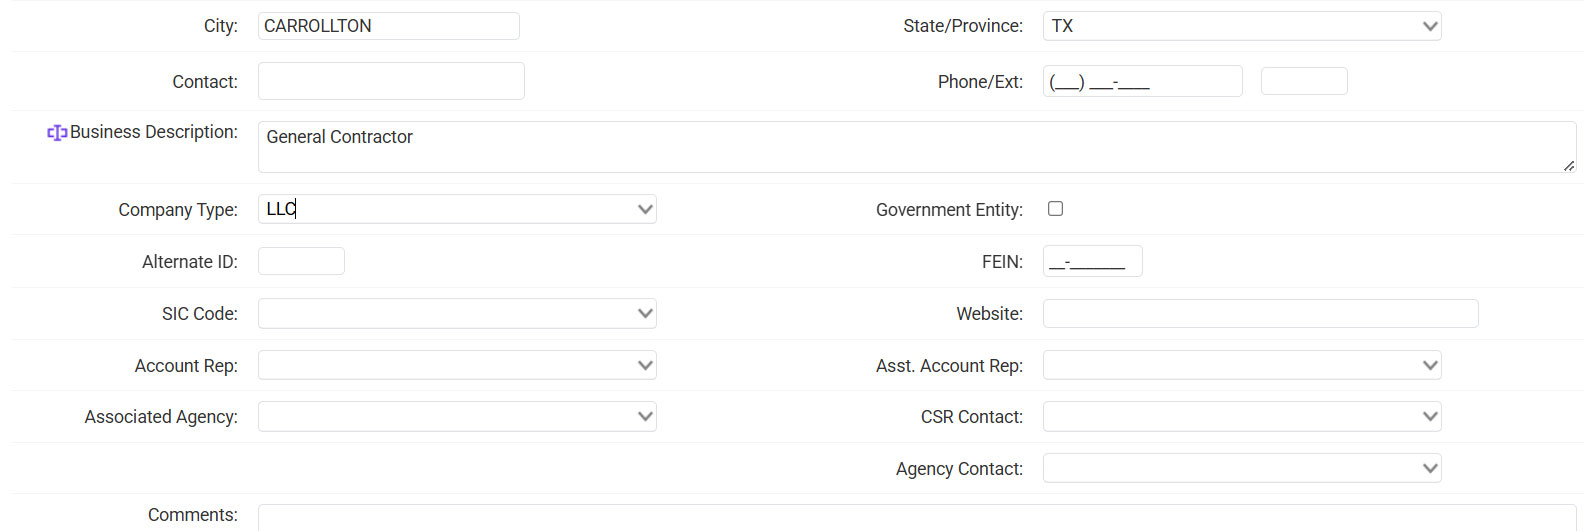
- Enter the Business Description >> Select the Company Type.
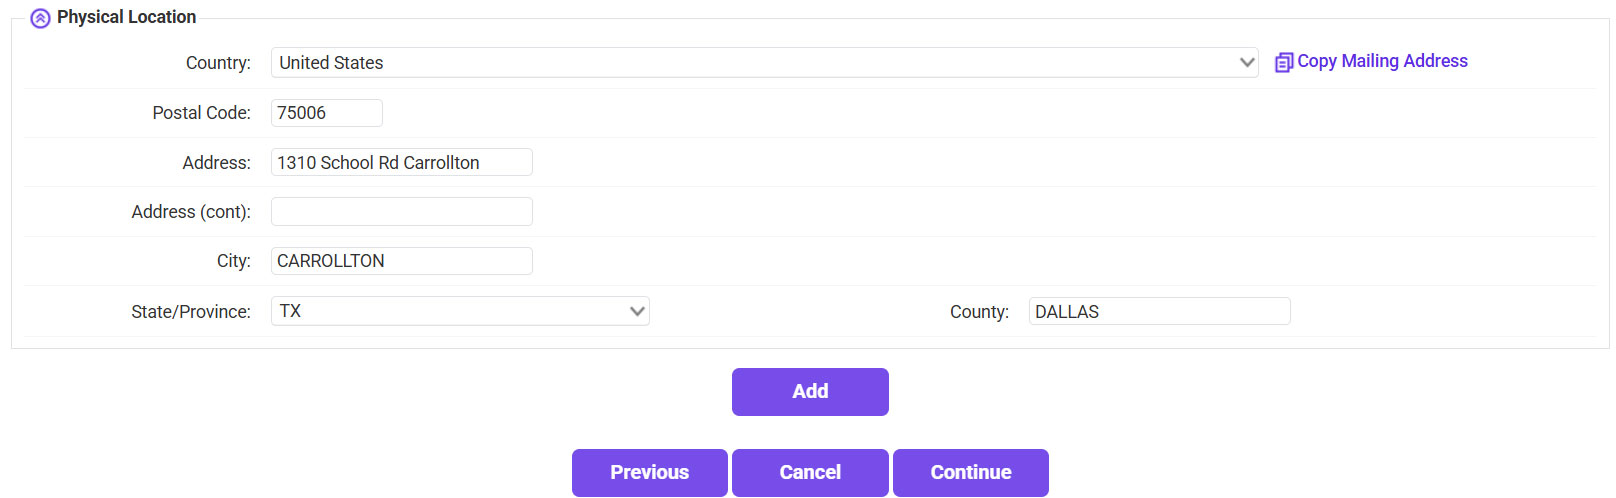
- Enter the Location Address.
- If it is the same as the Mailing Address, click Copy Mailing Address.
- If it differs from the Mailing Address, enter the Location Address and Zip Code >> Confirm the City.
- Click Add.
- Click Continue.
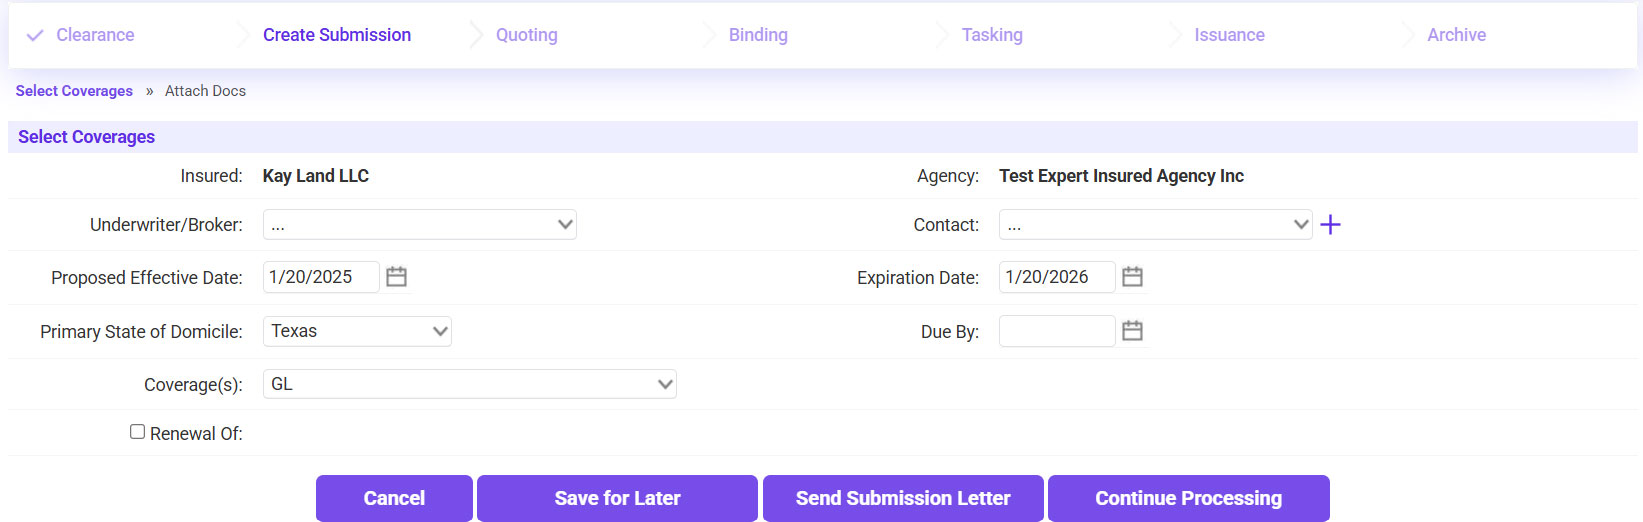
Create the Submission
- Fill in the Coverage Information.
- Select the Underwriter >> Select the UW/UA from the Contact field.
- Enter the Effective Date >> The Expiration Date will automatically update for
an annual policy.
- Select the Coverage(s).
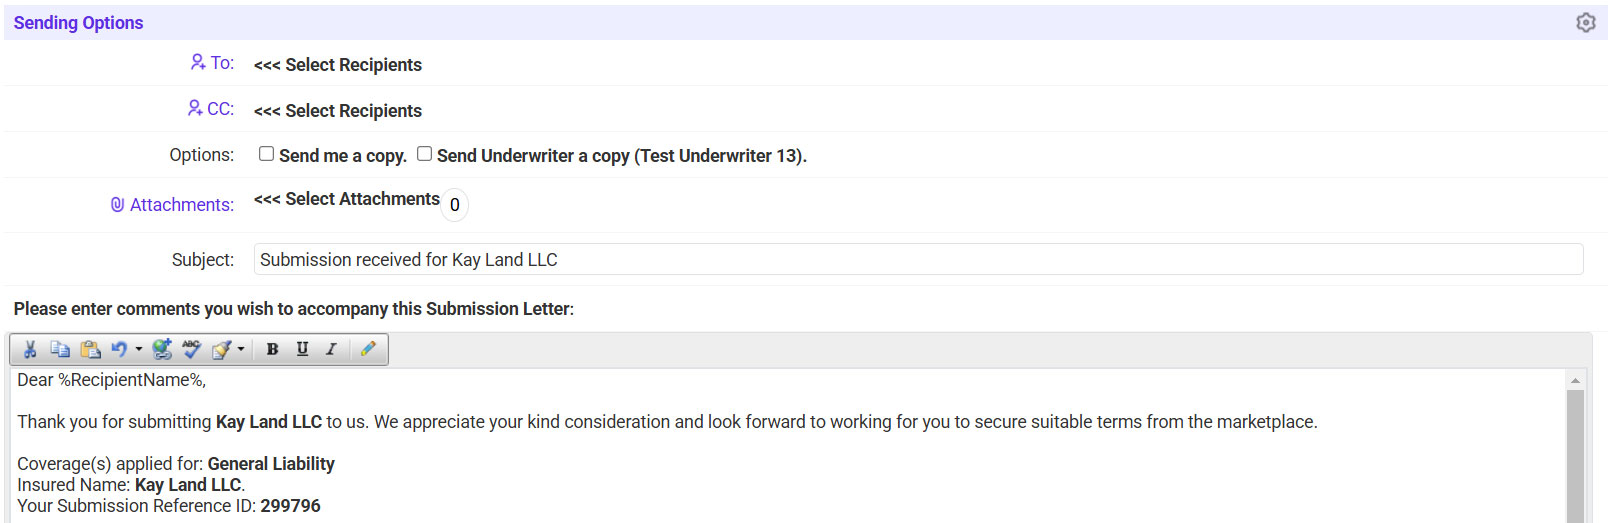
- Click Send Submission Letter.
- Send the agent the Submission Letter acknowledging the submission.
- Click on the ‘To’ link >> Select the agent's email
address who sent the submission.
- If needed, check the box to send a copy to yourself/the underwriter.
- Click Continue.
- The application document does not need to be attached at this time.
- Click Bypass to attach it later (EI will create a task automatically for the
documents to be attached).
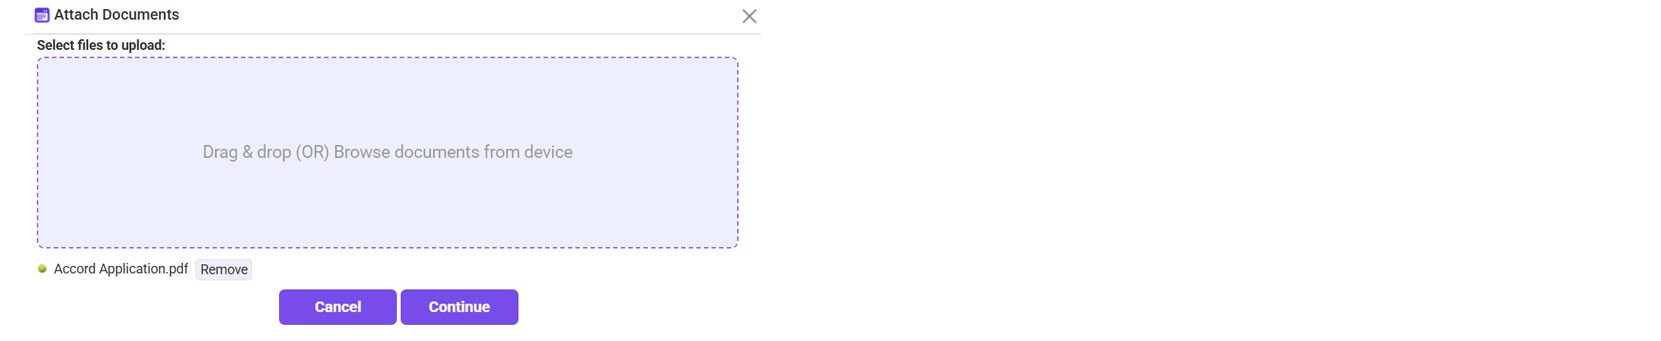
- Or, to attach it now, click on the [document] plus sign icon.
- Click Browse >> Select the application >> Once it is
attached, click Continue.
- For the Type, select Submitted Application >> Click Continue.
Creating a submission on an Existing Insured
- Go to Expert Insured and log in >> From the Home page, go to Create >> Select Submission.
- Enter the Agency Name listed on the submission >> Click Search.
- Select the applicable result (check the location and confirm the
Status is ‘Approved’) >> Click Continue.
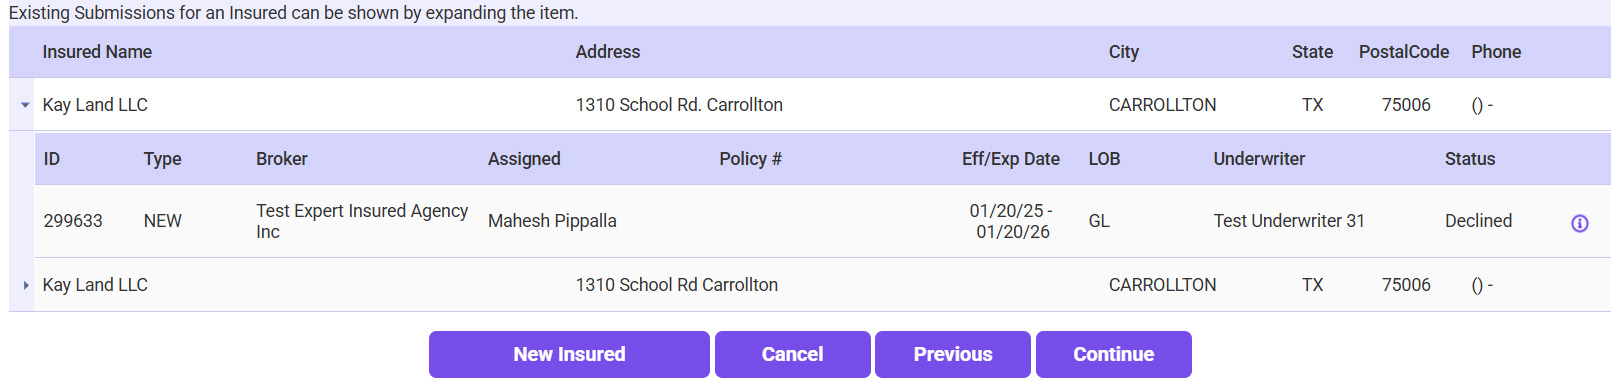
- Enter the applicant’s name into the Insured Name field >> Click Search.
- If the Insured is already in the system, select the result and click Continue.
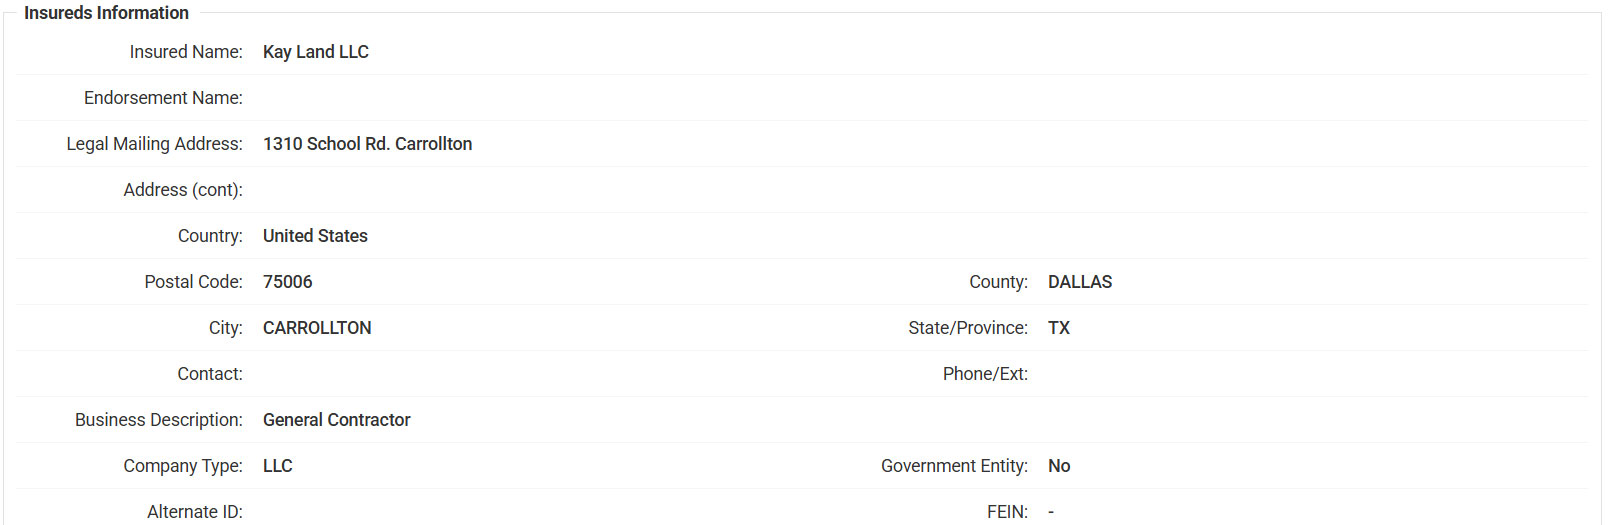
- Confirm the Insured’s Information (insured’s name,
mailing address, and location address).
- If any information needs to be updated, click Edit to make changes >> If everything looks good,
click Continue.
- Fill in the Coverage Information.
- Select the Underwriter >> Select the UW/UA from the Contact field.
- Enter the Effective Date >> The Expiration Date will automatically update for
an annual policy.
- Select the Coverage(s).
- Click Send Submission Letter.
- Send the agent the Submission Letter acknowledging the submission.
- Click on the ‘To’ link >> Select the email
address of the agent who sent the submission.
- If needed, check the box to send a copy to yourself/the underwriter.
- Click Continue.
- Attach the provided application to the submission.
- Click on the [document] plus sign icon.
- Click Browse >> Select the application >> Once it is
attached, click Continue.
- For the Type, select Submitted Application >> Click Continue.