Endorsements
- Go to Create >> Select Endorsement.
- Enter the policy number (or insured’s name) >> Click Search.
- Select the applicable result >> Click Continue.
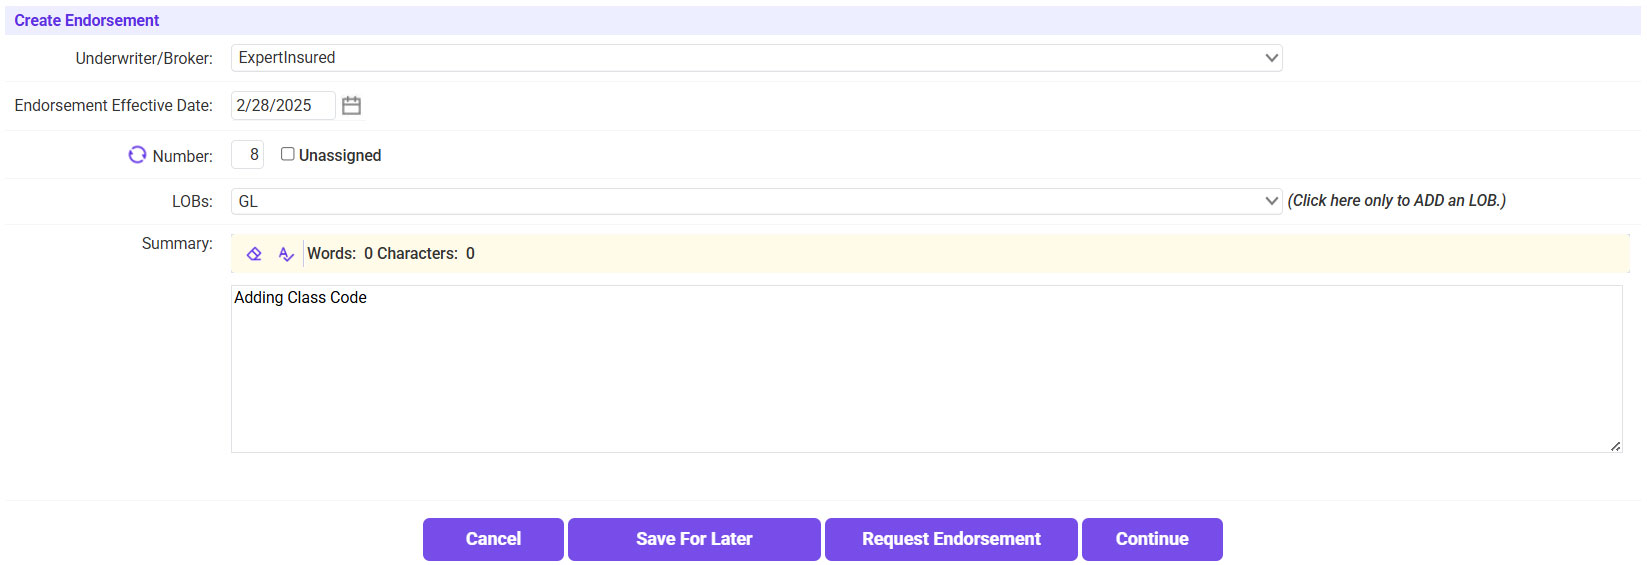
- Enter the Endorsement Effective Date >> Enter the change that is being made >> Click Continue.
- Make the change.
- Any Name/Address changes can be made on the Policy tab.
- Location Address changes can be made on the Locs tab.
- Class/Limit/AI changes can be made on the GL tab. In this example, we are adding a class.
- To Add a Class: Select the Location >> Use the magnifying glass icon to select the Class and Description >> Enter the Exposure and Rate >> Click Save.
- To Remove a Class: Click on the ‘X’ Delete icon next to the class you are removing >> Click OK to remove the class.
- Once the change is made, click Continue until you reach the Endorsement Options page.
- Click Issue Endorsement.
- The Endorsement Costs will be calculated automatically; scroll to the bottom of the page to click Continue.
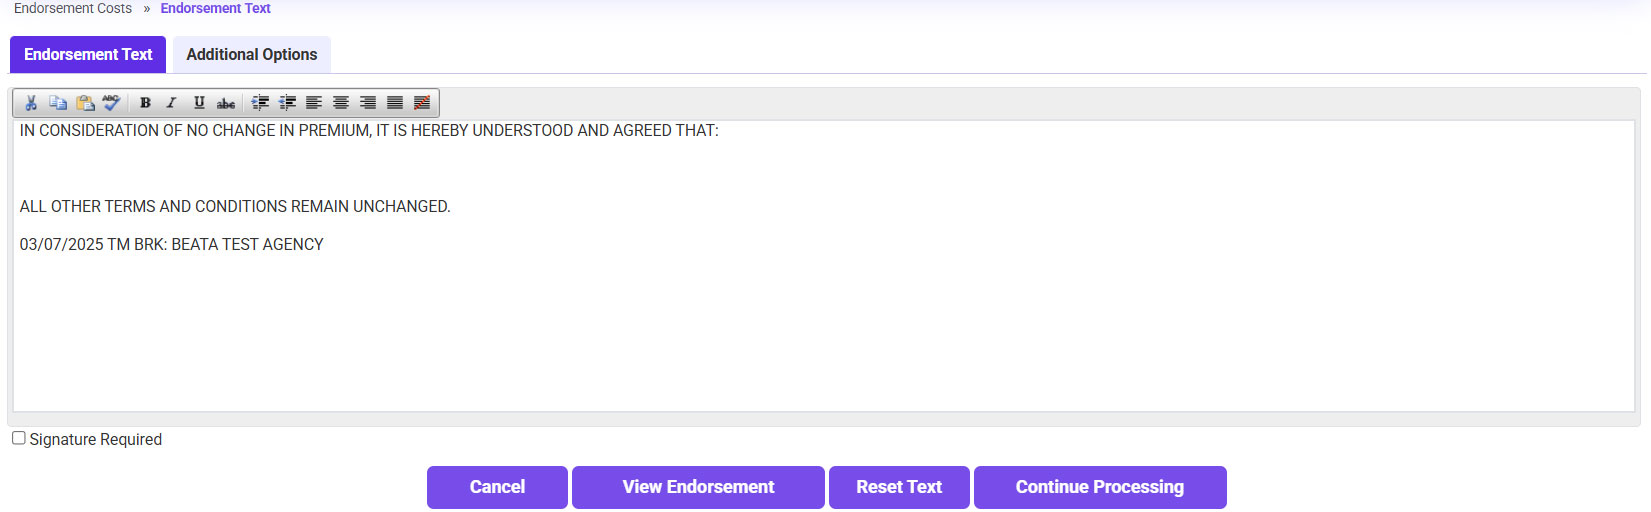
- The Endorsement Text will automatically pre-fill. Click View Endorsement to confirm everything looks good >> Click Continue Processing.
- Confirm the Policy and Accounting information is correct >> Check the verification box >> Click Continue.
- Send a copy of the Endorsement to the carrier.
- Click on the ‘To’ link and select the applicable email address.
- If needed, send a copy to yourself or the UW.
- Click Continue.
- Send the Endorsement to the agent.
- Click on the ‘To’ link and select the agent’s email.
- If needed, send a copy to yourself or the UW.
- Click Continue.