Issuing the Binder
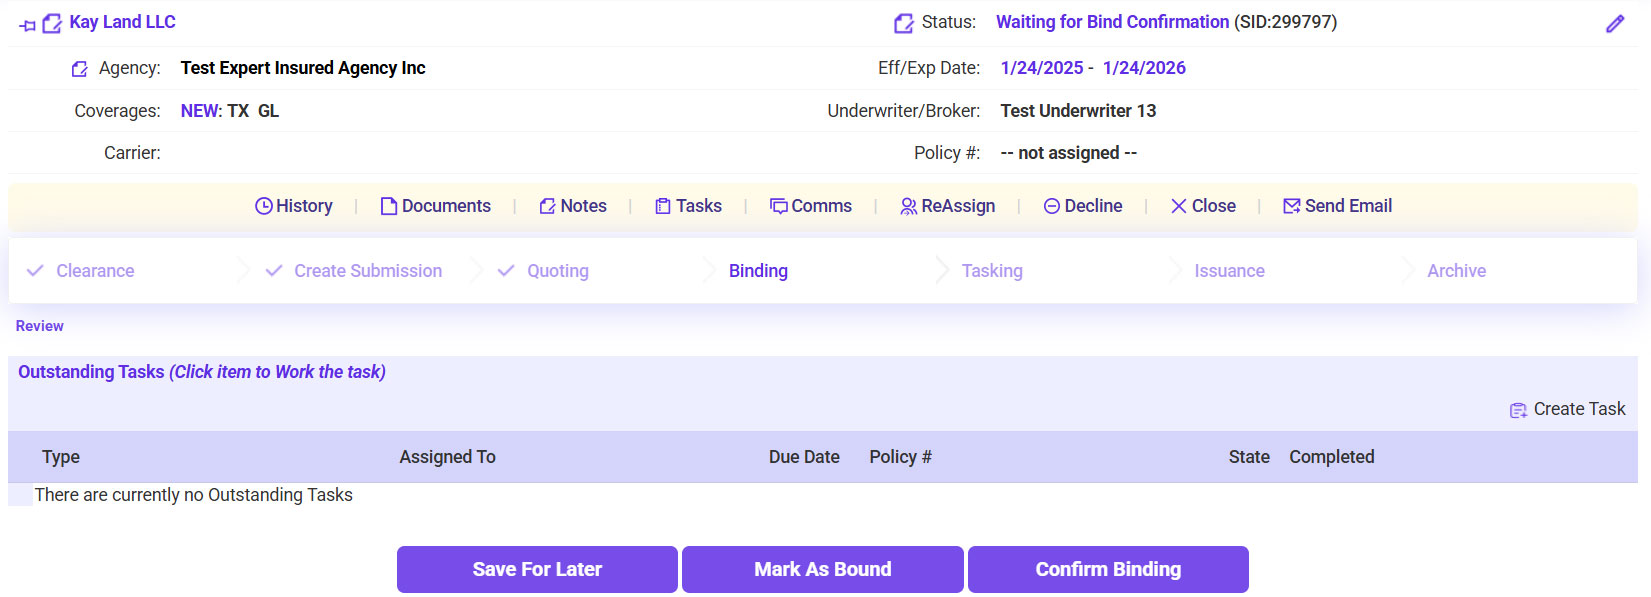
- Once the bind confirmation/binder has been received (or pulled from the carrier’s website), go back into the In Process workflow >> Search for and open the insured’s account.
- Click Confirm Binding.
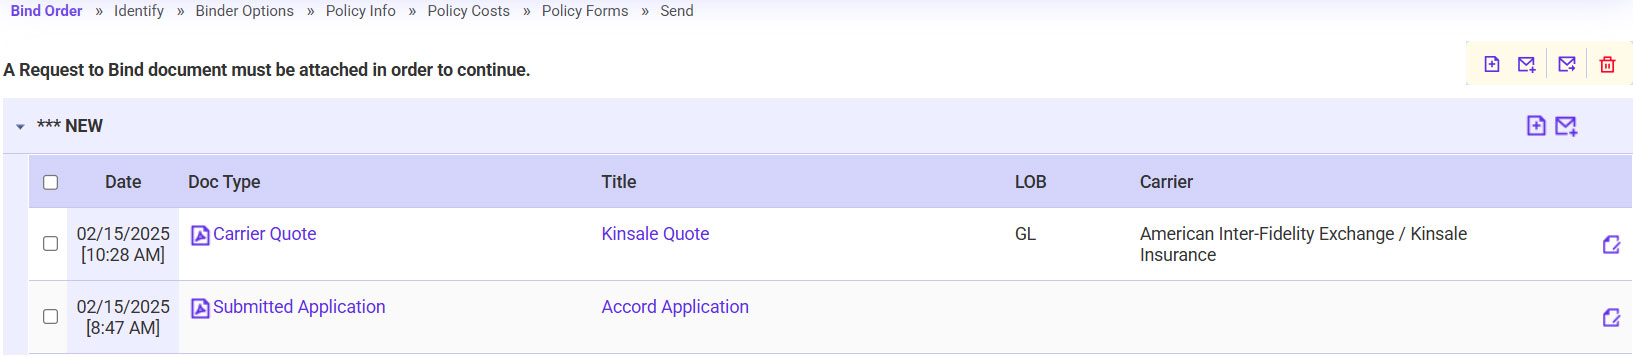
- Enter the Policy Number as shown on the document.
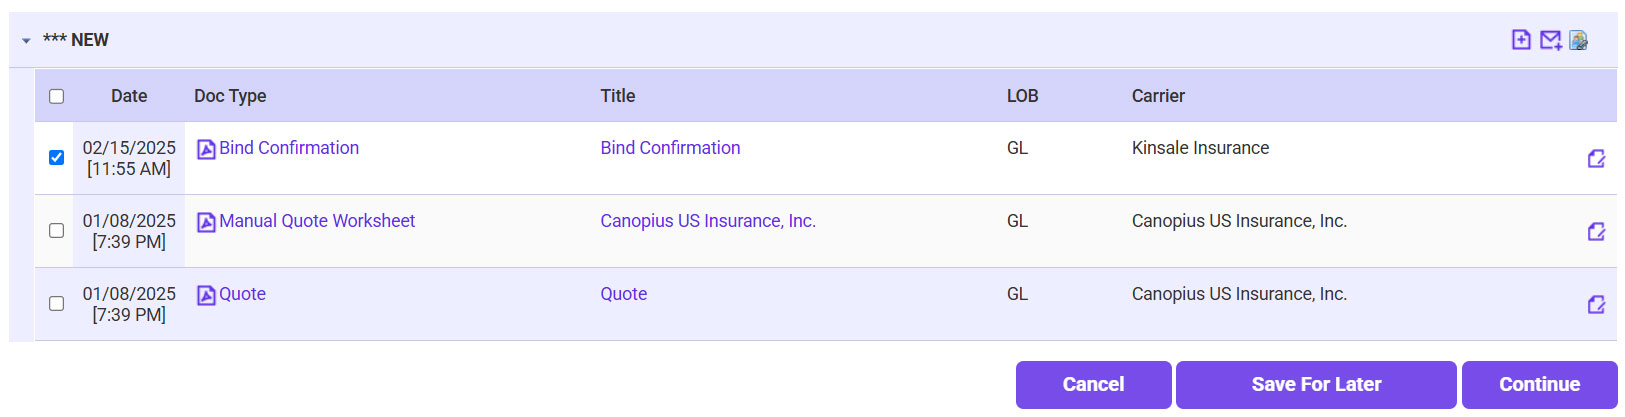
- Attach the Bind Confirmation email/document.
- Click on the plus sign icon.
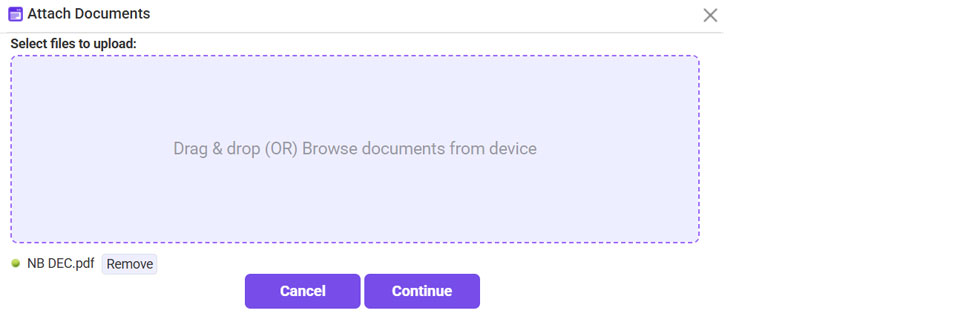
- Click Browse >> Select the Bind Confirmation document >> Click Continue.
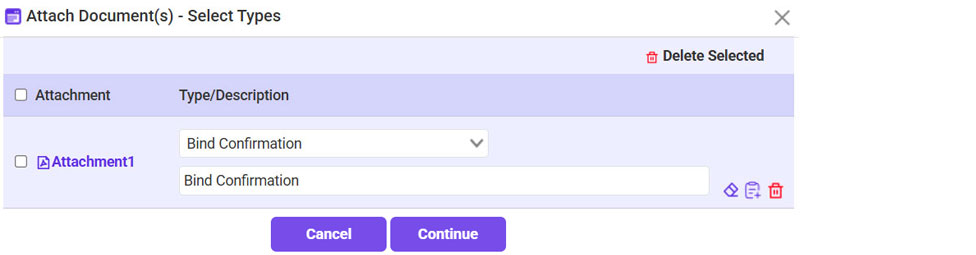
- For the Type, select Bind Confirmation >> Click Continue.
- Click Continue again.
- Scroll to the bottom of the Policy Info page >> Click Attach Binder.
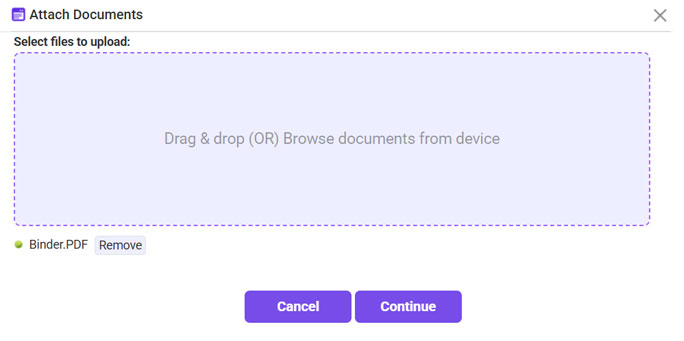
- Attach the Binder.
- Click on the plus sign icon.
- Click Browse >> Select the Binder document >> Once attached, click Continue
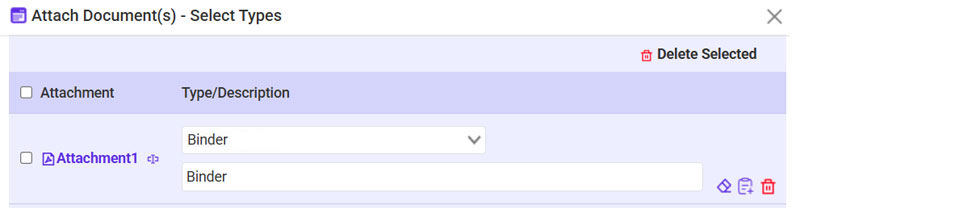
- For the Type, select Binder >> Click Continue.
- Once the binder is attached, click Continue.
- Confirm the Premium and Taxes/Fees all still match what is on the binder >> Click Continue.
- Confirm everything looks good one last time >> Check the Policy and Accounting Information verified box >> Click Continue.
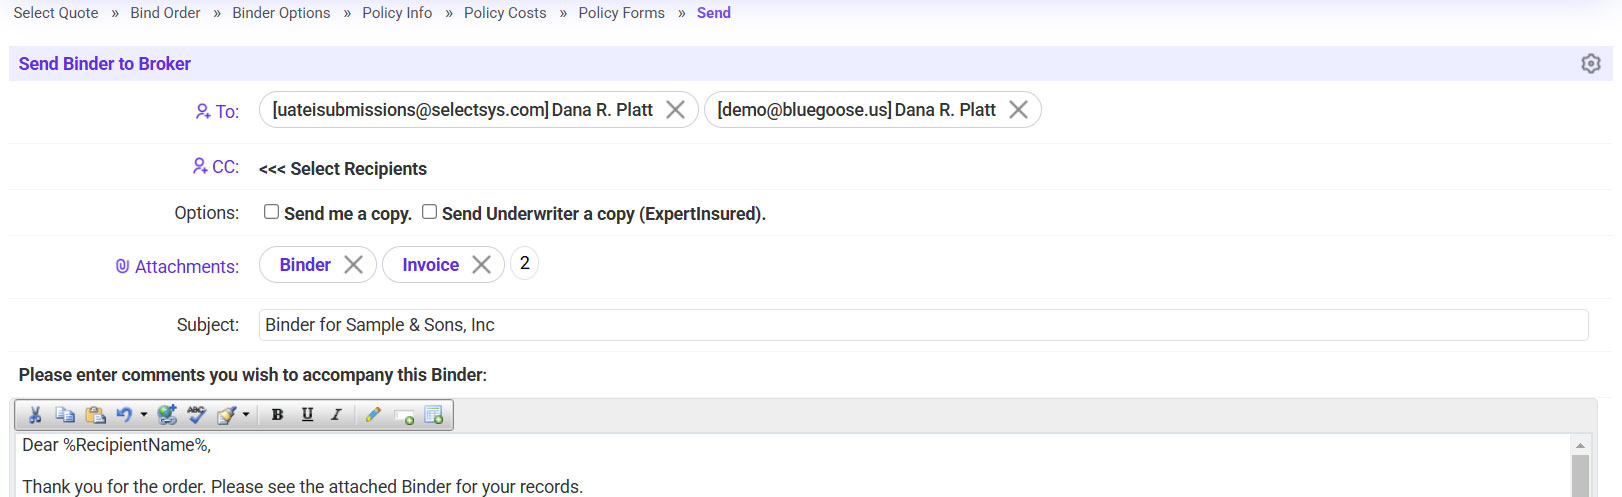
- Send the binder to the agent.
- Click on the ‘To’ link >> Select the agent’s email address.
- If needed, copy any additional recipients.
- Click Continue Processing.
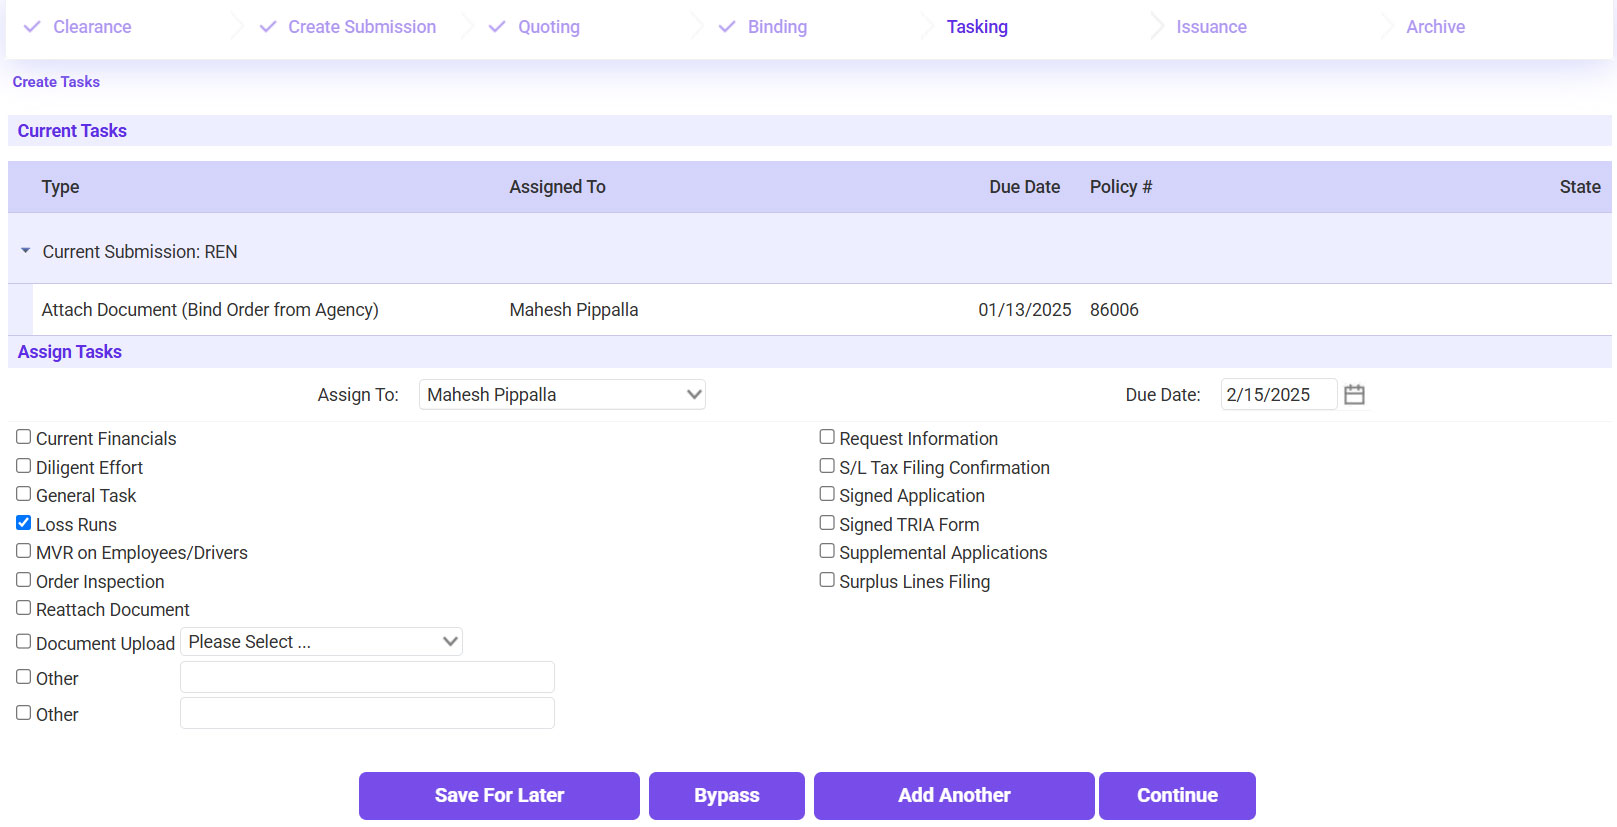
- If there are any outstanding items needed, check the box next to the applicable item to create a task >> Click Continue.
- If no tasks need to be created, click Bypass.