Renewals
Requesting the Renewal Application
- Log in to Expert Insured >> Go to Find >> Select Insured.
- Search for the expiring policy.
- Enter the insured’s name or the policy number >> Click Search.
- Locate the expiring policy >> Click on the ‘i’, Show More
Info, icon.
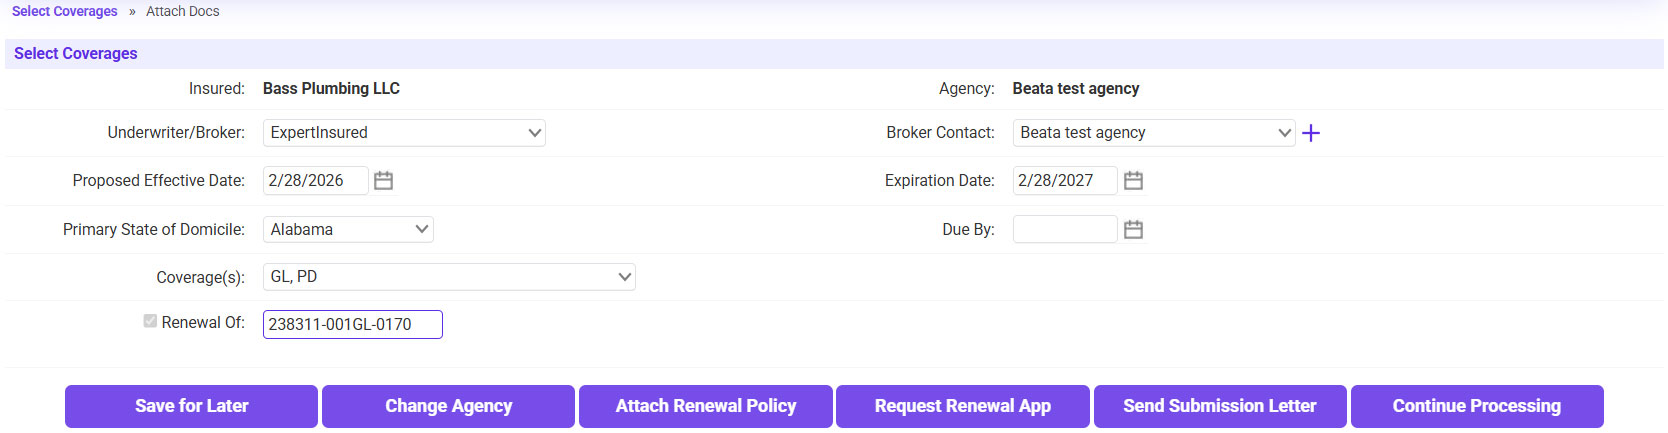
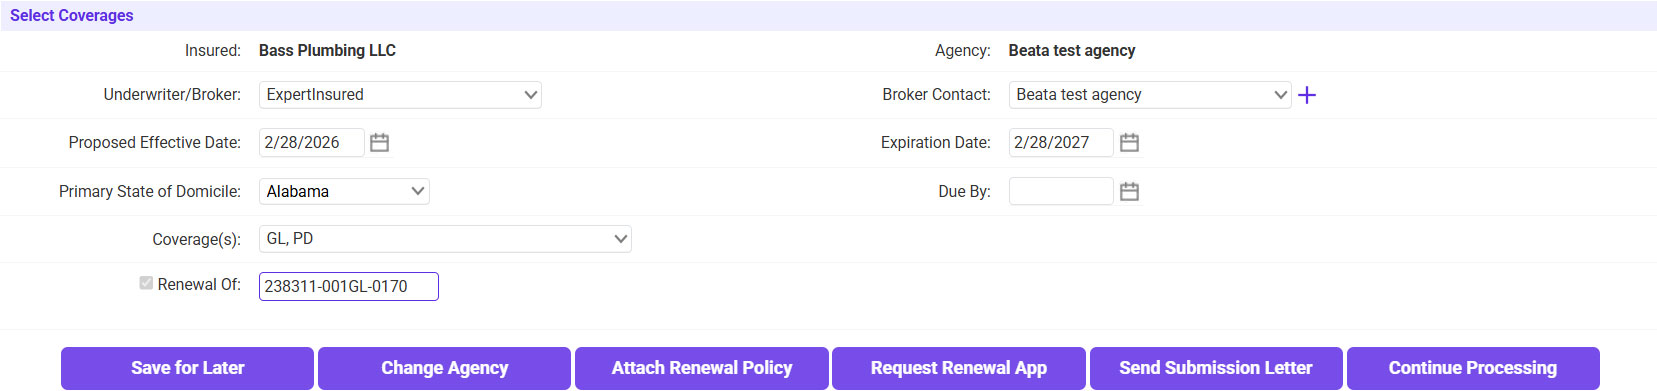
- Click Renew.
- Click Begin Renewal Process.
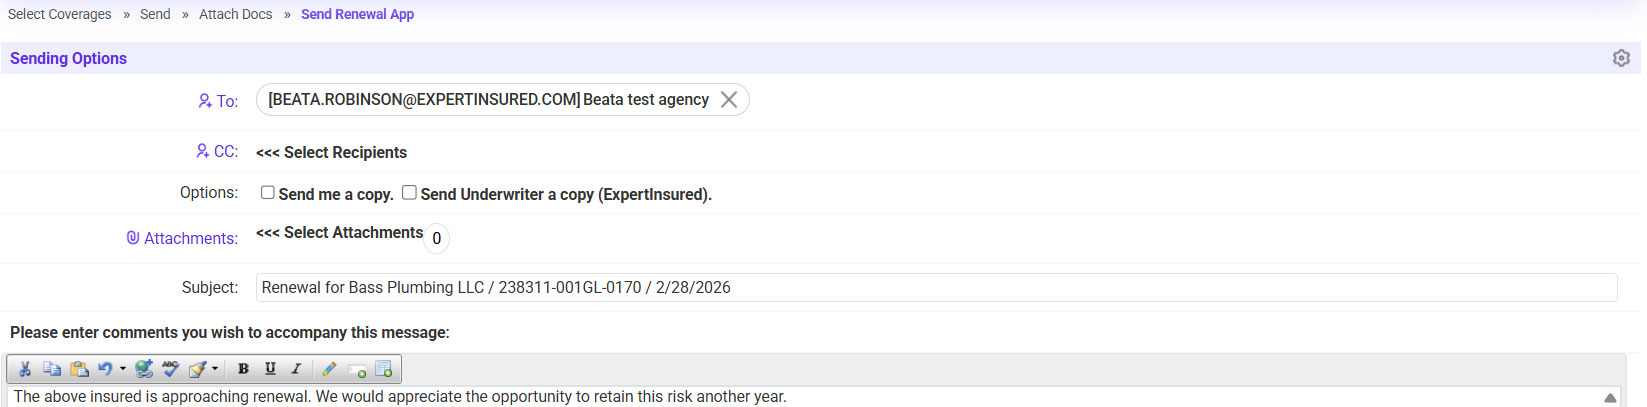
- Click Request Renewal App.
- Send the application request to the agent.
- Click Wait For Application.
- Once the renewal application is received, go to the In Process queue >> Search for and select the renewal you are working on.
- Confirm the Coverage information listed matches what is showing on the Renewal App
>> Click Continue Processing.
- Attach the renewal application.
- Click on the plus sign icon to attach the renewal application.
- Drag and drop the renewal app >> Once loaded, click Continue.
- Select Submitted Application as the Type >> Click Continue.
- Click Continue Processing.
Creating the Renewal Quote
- Click Create Quote.
- Select the Wholesaler >> Select the Carrier >> Click Continue.
- Confirm/Update the Quote Data.
- On the Policy tab, confirm the insured’s name and address.
- On the Locs tab, enter the location address(es).
- Click on the plus sign icon to add the Location Address.
- Click on the copy icon to auto-fill in the physical address or
manually enter the information.
- Enter the Additional Information (Year Built, Stories, Occupancy) >> If any
land/building is Vacant, enter that information on the Vacant Land/BLDG tab
>> If there are multiple locations, click Save & Add Another >>
Once all are entered, click Save.
- On the LOB tab, confirm the information listed
matches what is on the renewal app.
- For GL:
- Confirm the deductibles and limits >> Enter the class information.
- Select the Location.
- Click on the magnifying glass icon to search for and select the Class
Code/Description.
- Enter the Exposure and Rate.
- The Premium will automatically be calculated >> Click Save.
- If needed, add any Additional Coverages.
- Go to the Additional Coverages tab >> Click on the plus sign.
- Select the Coverage Type >> Select the requested additional
coverage >> Enter the Premium amount >> Click Save.
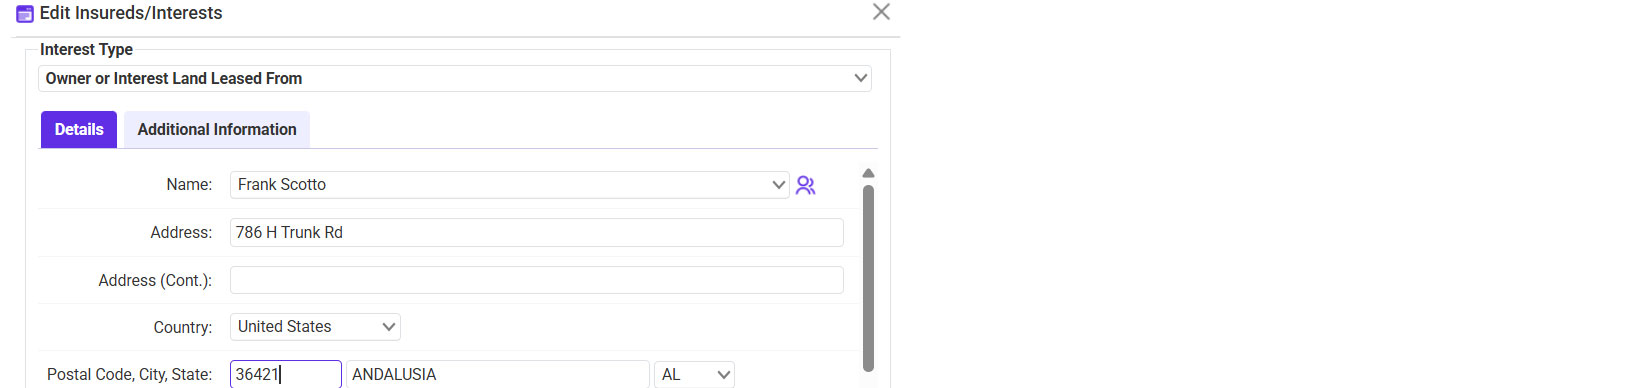
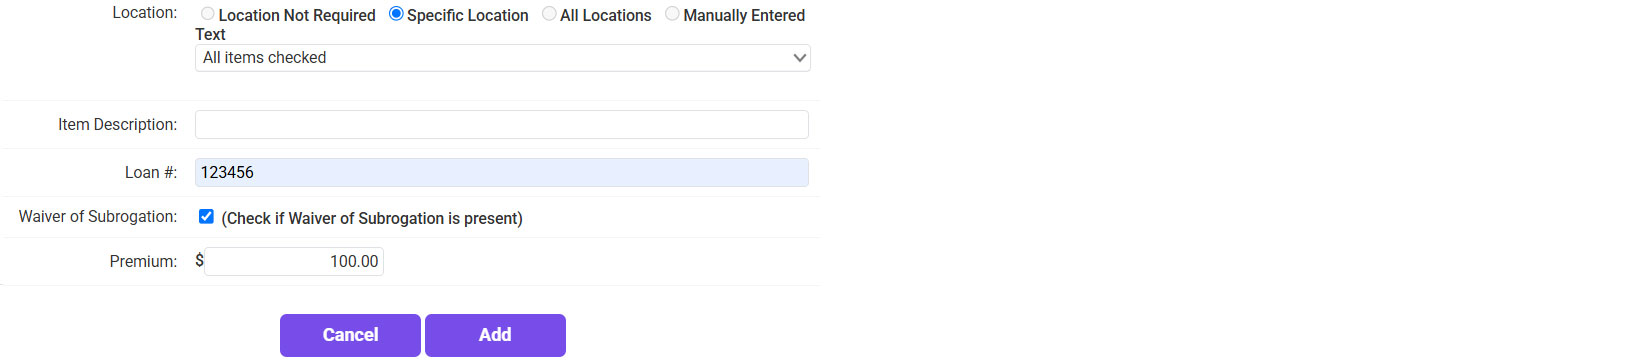
- If needed, add any Additional Insureds.
- Go to the Additional Insureds tab >> Click on the plus sign icon.
- Select the Interest Type >> Enter the AI’s Name and Address.
- If applicable:
- Select a specific Location.
- Enter the Loan Number.
- Include a WOS (Waiver of Subrogation).
- Enter the Premium Amount.
- Click Add.
- Once all Quote Data has been entered, click Finished.
- On the Policy Costs page, select the Billing Type >> If
applicable, select the Finance Company.
- Click Continue Processing.
- Click Continue on the Policy Forms page.
- Send the quote to the agent.
- To: Agency Contact
- If needed, send a copy to yourself or the UW.
- Body: Enter any wording needed.
- Click Send Now.
- Once the quoting process has been completed and no further changes are needed, click Rating
Completed.
Binding a Renewal Quote
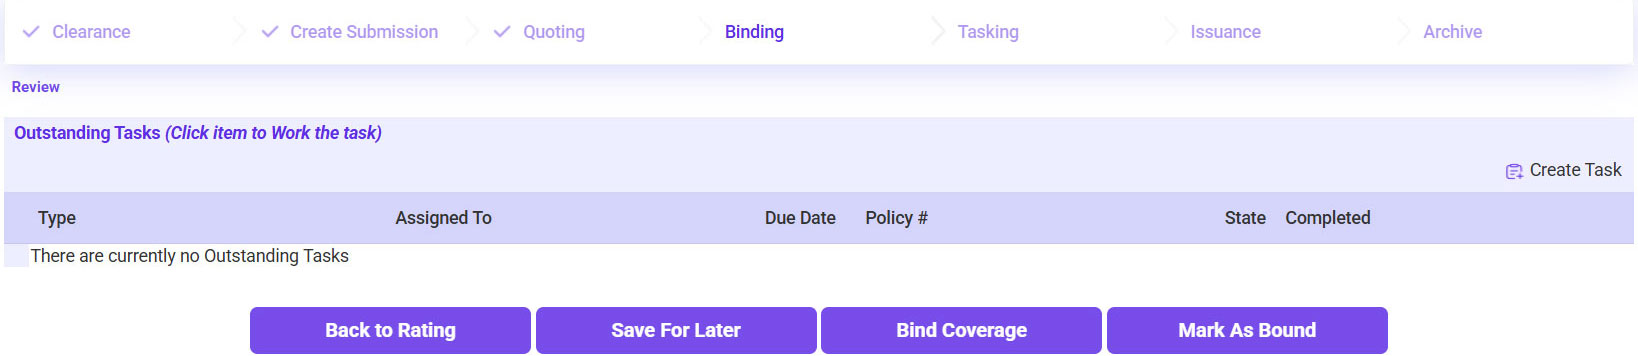
- Once a bind request is received, go to Expert Insured >> Go to the In
Process workflow.
- Search for the insured >> Select the account.
- Click Bind Coverage.
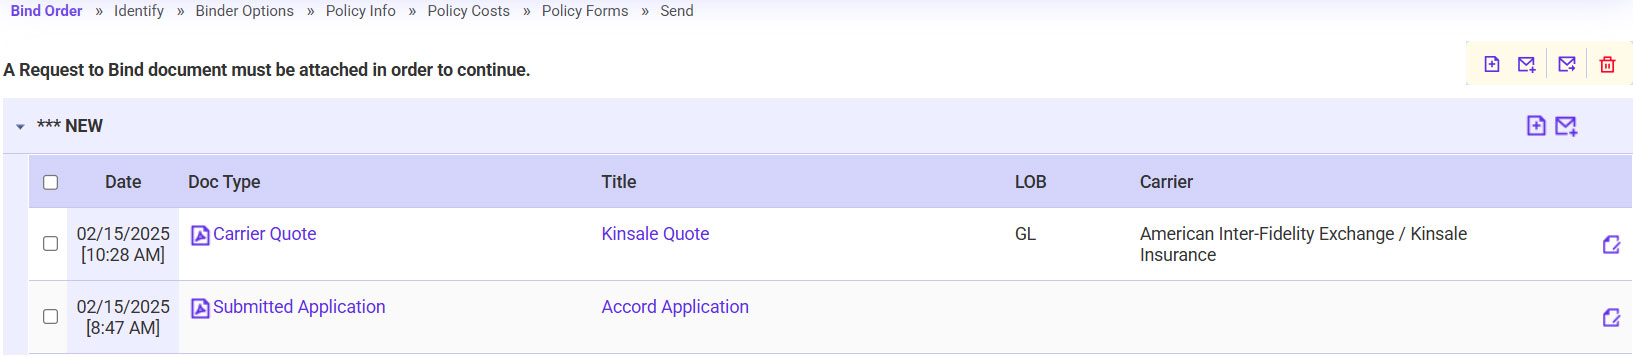
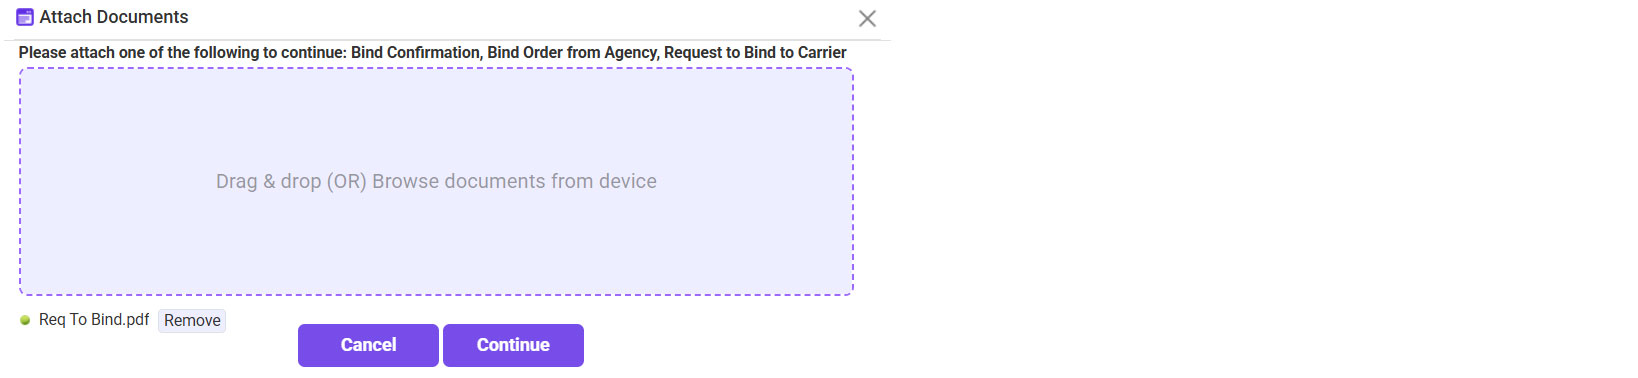
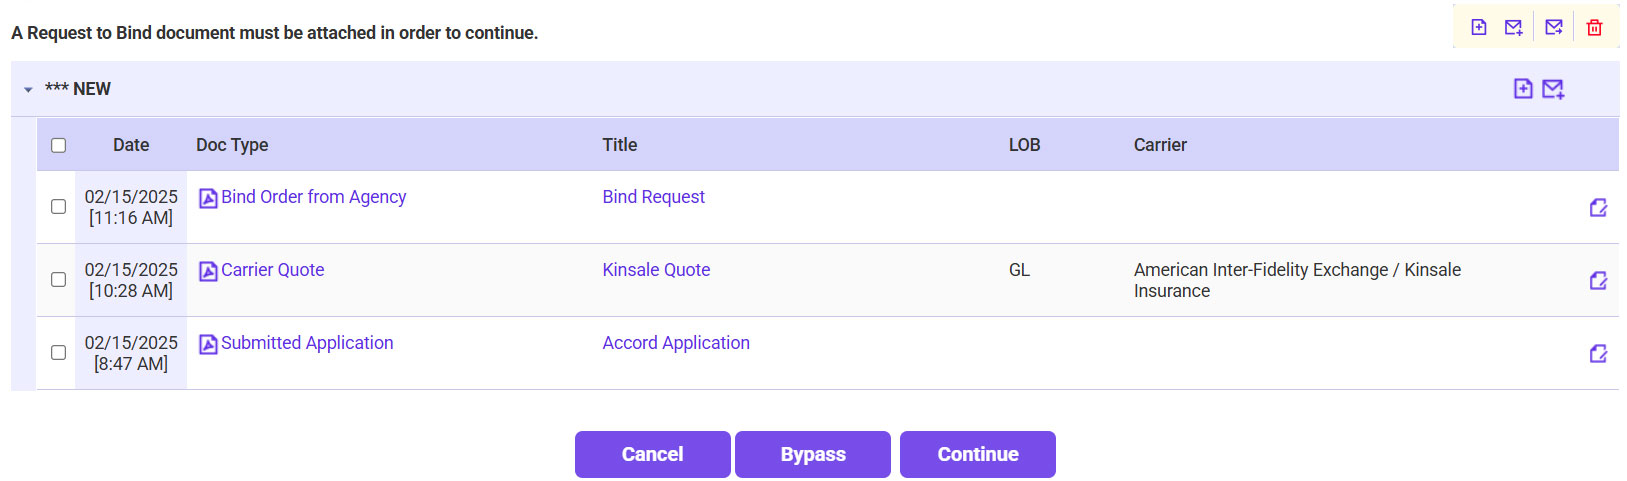
- Attach the Bind Request.
- Click on the plus sign icon.
- Drag and drop the bind request >> Once loaded, click Continue.
- Type: Select Bind Order from Agency
- Once the bind request is attached, click Continue.
- Confirm the correct Quote is selected and the Wholesaler/Carrier Information >>
Click Continue.
- If you are sure you want to bind the selected quote, click Continue.
- The Issue Policy option selected must be ExpertInsured >> Confirm the Premium amount matches what is on the requested quote to
bind >> Select whether TRIA is included/excluded >> Click Continue Processing.
- Confirm the Policy Info.
- Review each tab (Policy, Locs, and LOB) to confirm that the information listed
matches the quote that was requested to be bound.
- Click Create Binder.
- Confirm the Bill Type and Finance Company (if any) on the Policy Costs page >>
Click Continue.
- Click Continue on the Policy Forms page.
- Verify the Policy and Accounting information >> Check the verification box >> Click Continue.
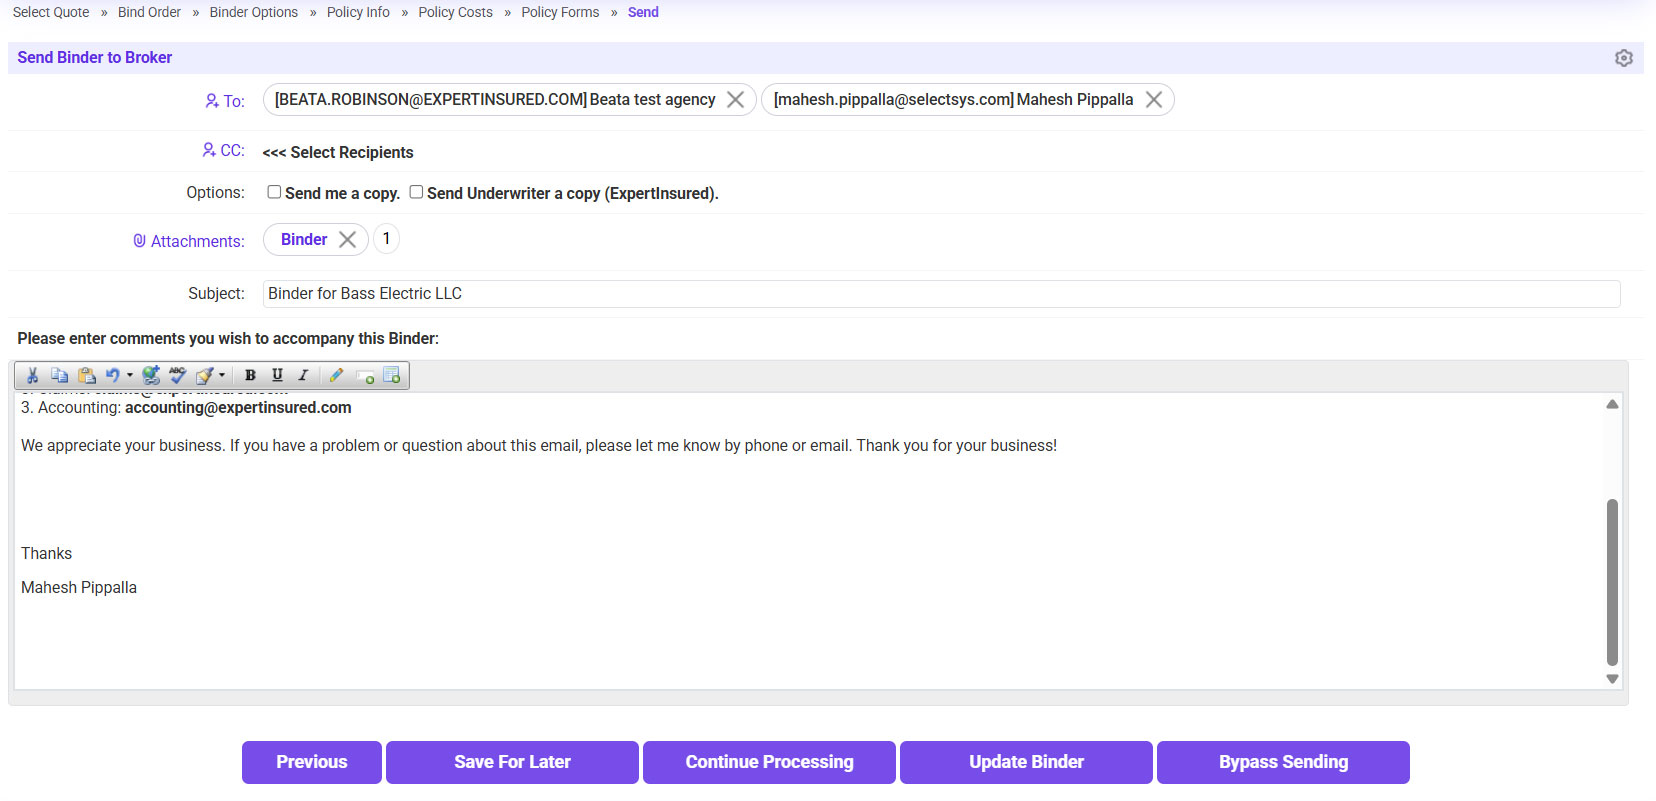
- Send the binder to the agent.
- To: Agency Contact
- If needed, send a copy to yourself or the UW.
- Click Continue Processing to send the email.
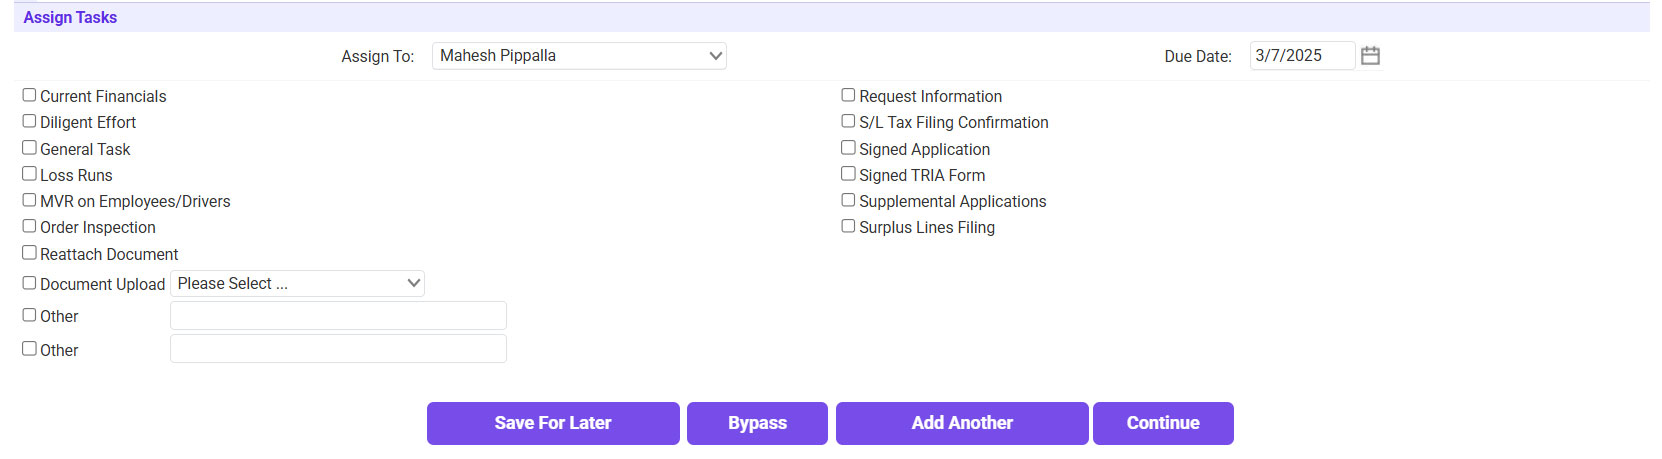
- If there are any outstanding items needed, check the box next to the applicable item to create a task >> Click Continue.
- If no tasks need to be created, click Bypass.
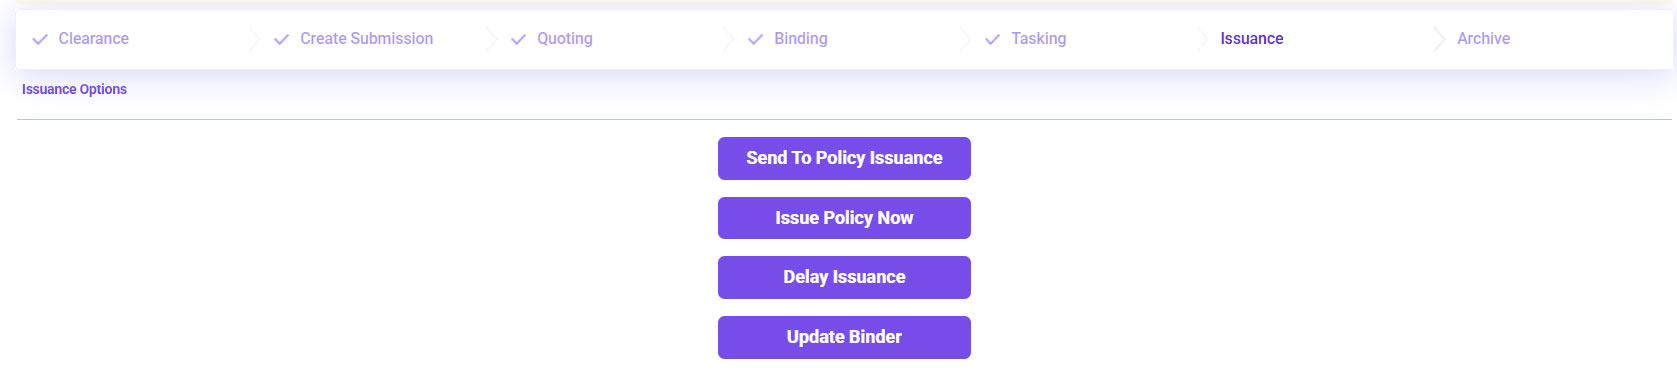
Issuing the Renewal Policy
- Click Issue Policy Now (or, if needed, send it to the Policy Issuance Team/Update the
Binder).
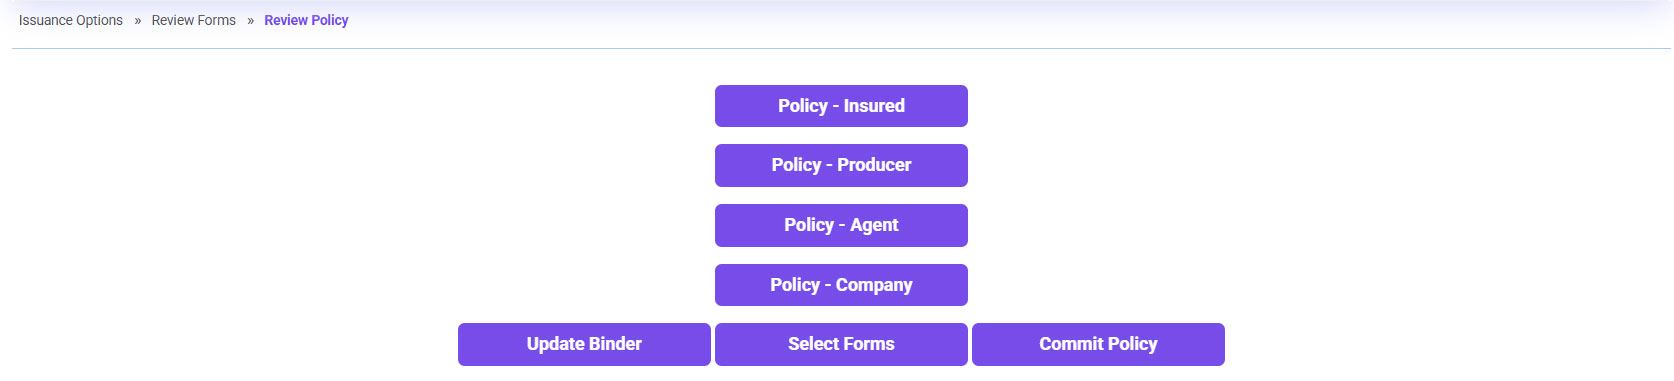
- Click Continue on the Policy Forms page.
- Select Policy - Insured to preview the insured’s copy of the policy >> If
everything looks good, close the preview.
- If needed, you can amend the forms >> If the policy looks good, click Commit
Policy.
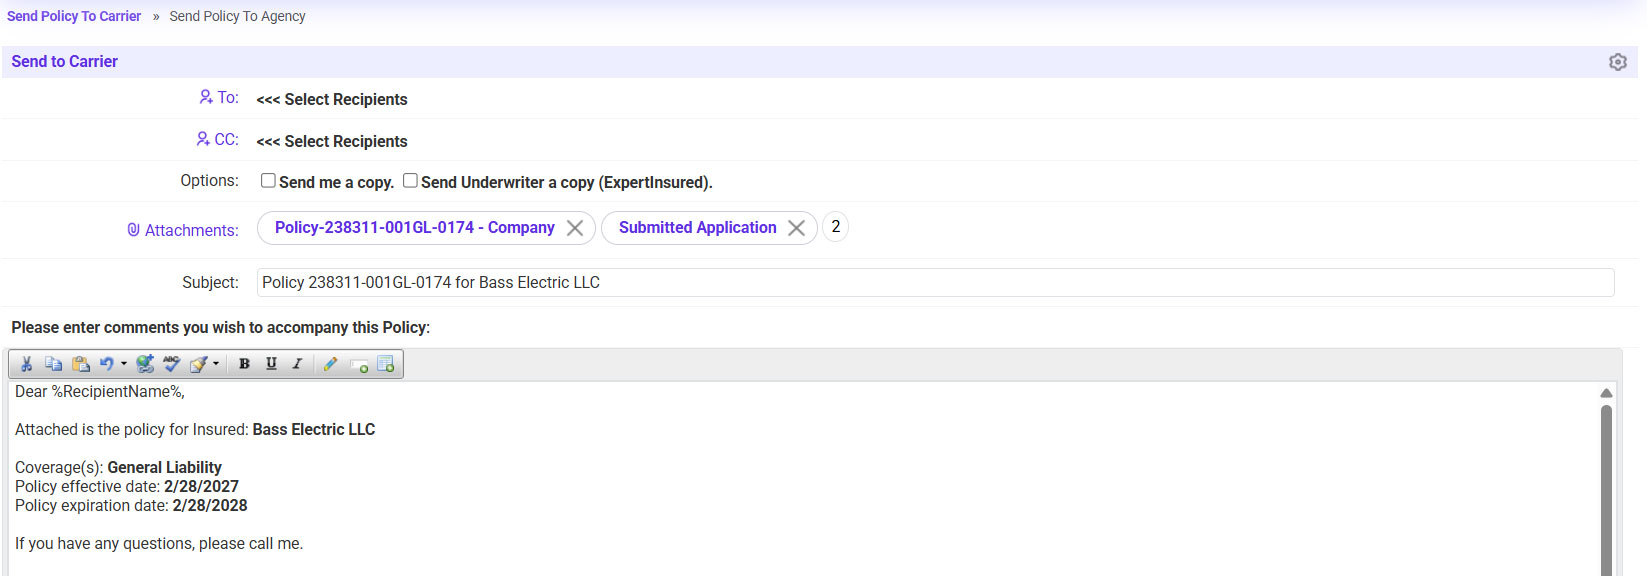
- Send the policy to the carrier.
- To: select the carrier contact email
- If needed, send a copy to yourself or the UW.
- Click Continue to send the email.
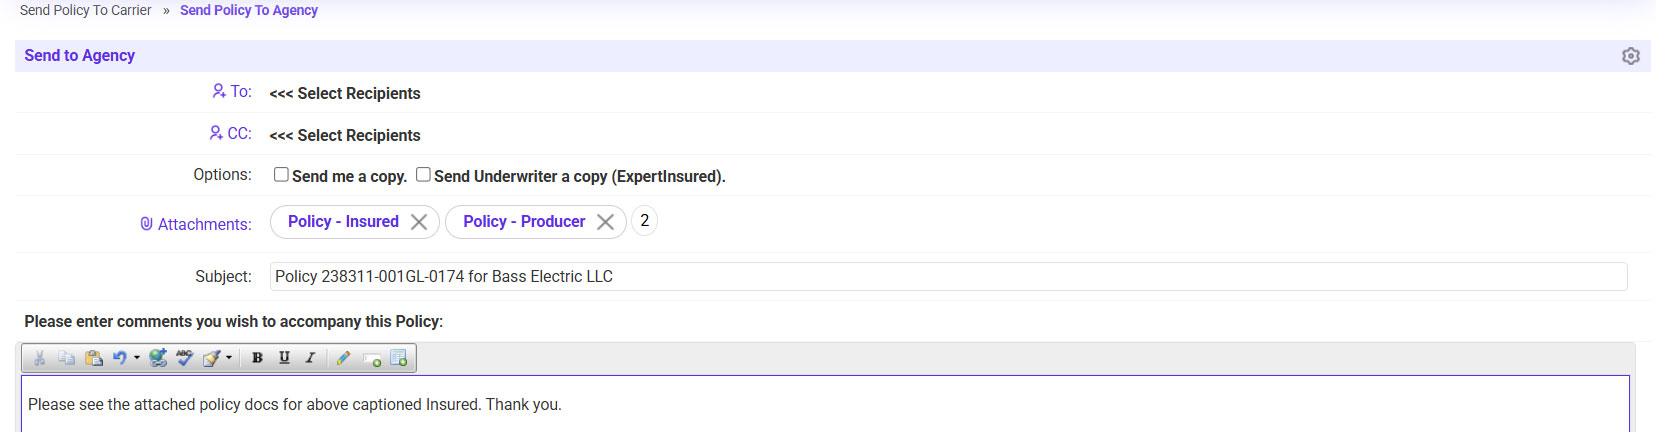
- Send the policy to the agent.
- To: Agency Contact
- If needed, send a copy to yourself or the UW.
- Click Continue.